
This is a project that came out of necessity. I needed a work glove organizer for the garage, and I needed it fast. Something simple, cheap, and easy to make quickly.
You see, my workshop is in the garage. The door to our backyard is in the garage, and we have two puppies that love to play with whatever they can find, including my work gloves. Normally, my work gloves are stored on my welding cart. The problem with is that the welding cart is low to the ground and easily within our dog’s reach. Every time I turned around, my gloves and the dogs would be gone. One look into the backyard and it was easy to see where the dogs, and my gloves, went.
This page contains affiliate links in which we receive a small commission at no additional cost to you. As an Amazon Associate I earn from qualifying purchases.
My requirements for this work glove organizer were as follows:
- Easy to Construct
- Low Cost
- Wall Hanging
- Visible
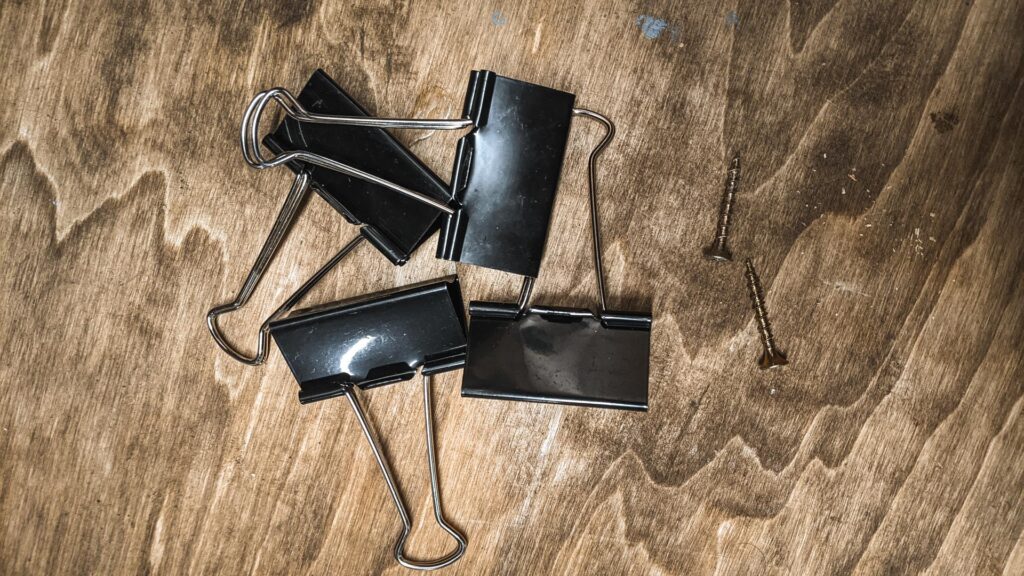
I wanted this to be easy, very easy. It needed to be simple and quick to make. There was no need to over complicate and overengineer something that holds gloves. Cost was kept to a minimum, using only a scrap board, screws, and 2 inch binder clips that we already had on hand.
Due to limited space, this work glove organizer needed to hang on the wall above my wood and metal storage area. I wanted my gloves to be visible, both for easy access and to serve as a reminder to use them after some close calls.
Materials
- Scrap board 3/4″ thick – Sized to fit your area
- 1 1/4″ Screws – One Per pair of gloves
- 2″ Binder Clips – One per pair of gloves
- 2 1/2″ Screws – Two for mount the organizer to the wall
Tools
- Drill
- Drill Bits
- Tape Measure
- Square
- Saw
- Level
- Stud Finder (If necessary)
Construction
In order to construct this DIY work glove organizer, you need to find a scrap board that is a suitable size. Size will vary based on how many gloves you want to hang from it.
Allow 4″ between each screw, and 4″ from each end of the board. The board I used was a 1×6 that was already roughly 24″ long, so I didn’t need to cut mine. My recommendation is to use a board at least 3/4″ thick to allow enough wood for the screws to grab.
The binder clips will hang from the 1 1/4″ screws. To start, measure across your board in 4″ intervals and mark it. One screw will be placed every 4″. Using your square or tape measure, on the first line make a mark 1/2″ from the top of the board. On the next line, measure 1/2″ from the bottom of the board and make a mark. Repeat this process, alternating top and bottom, for the remainder of the board.
Once all of your marks are laid out on your board, pre drill holes for the screws on the marks you made in the previous step. Be sure to use a drill bit slightly smaller than the the screws you are using. You want to make sure the threads still have some wood to grab onto.
If you want to paint or stain your work glove organizer, this is a good time to do so. It will be much easier to do it before installing the screws and hanging it on the wall.
Now it is time to put the screws in. When installing the screws, make sure they are almost all the way through the board. You don’t want anything sticking out the back so that the work glove organizer will sit flat against the wall.
If you are using a 3/4″ thick board, you should have about 1/2″ of the screw sticking out the front. For boards of a different thickness, make sure there is enough of the screw in the wood to securely hold while also allowing enough stick out for the binder clips to hang on.
At this point, the glove holder is complete. All that is left to do is hang it on the wall.
Construction Video
Here is a video showing the construction of the work glove organizer
Installation
Congrats! You’ve finished your glove organizer. Now let’s get it hung on the wall.
Find a suitable spot to hang your organizer. If you have OSB or plywood on your walls, you don’t necessarily need to mount it to studs. The organizer with gloves won’t be too heavy.
If you are installing it over drywall, screwing into studs is recommended. While the gloves will be fairly light, it is better to be safe in the event that something falls or catches on the screws.
Once the studs are located, use a level to make sure your work glove organizer is….level on the wall, pre drill the holes for the mounting screws, and install the 2 1/2″ screws.
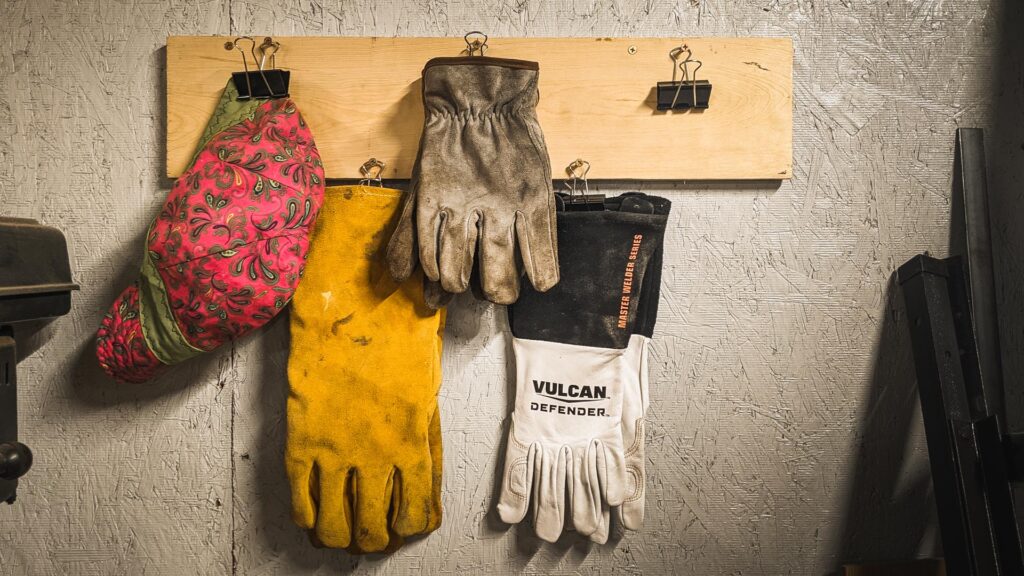
You are all set to put your brand new glove organizer into use. Using the 2″ binder clips, clip a pair of gloves together. Place the wire of the clip over one of the screws on the organizer. Your project is complete!
Final Thoughts
This work glove organizer is super simple and quick to make. It gives your gloves an organized and visible way to hang so you can pick just the right pair for the job. It will also keep them safe from any mischievous pets so they don’t turn into a play toy.
I have my welding gloves and hat hanging from it right now. They are easy to reach when I decide to work on some scrap metal art or need to clean and cut metal.
For next to nothing, using materials you may already have around the house, this is a project worth the small amount of time it takes to build.